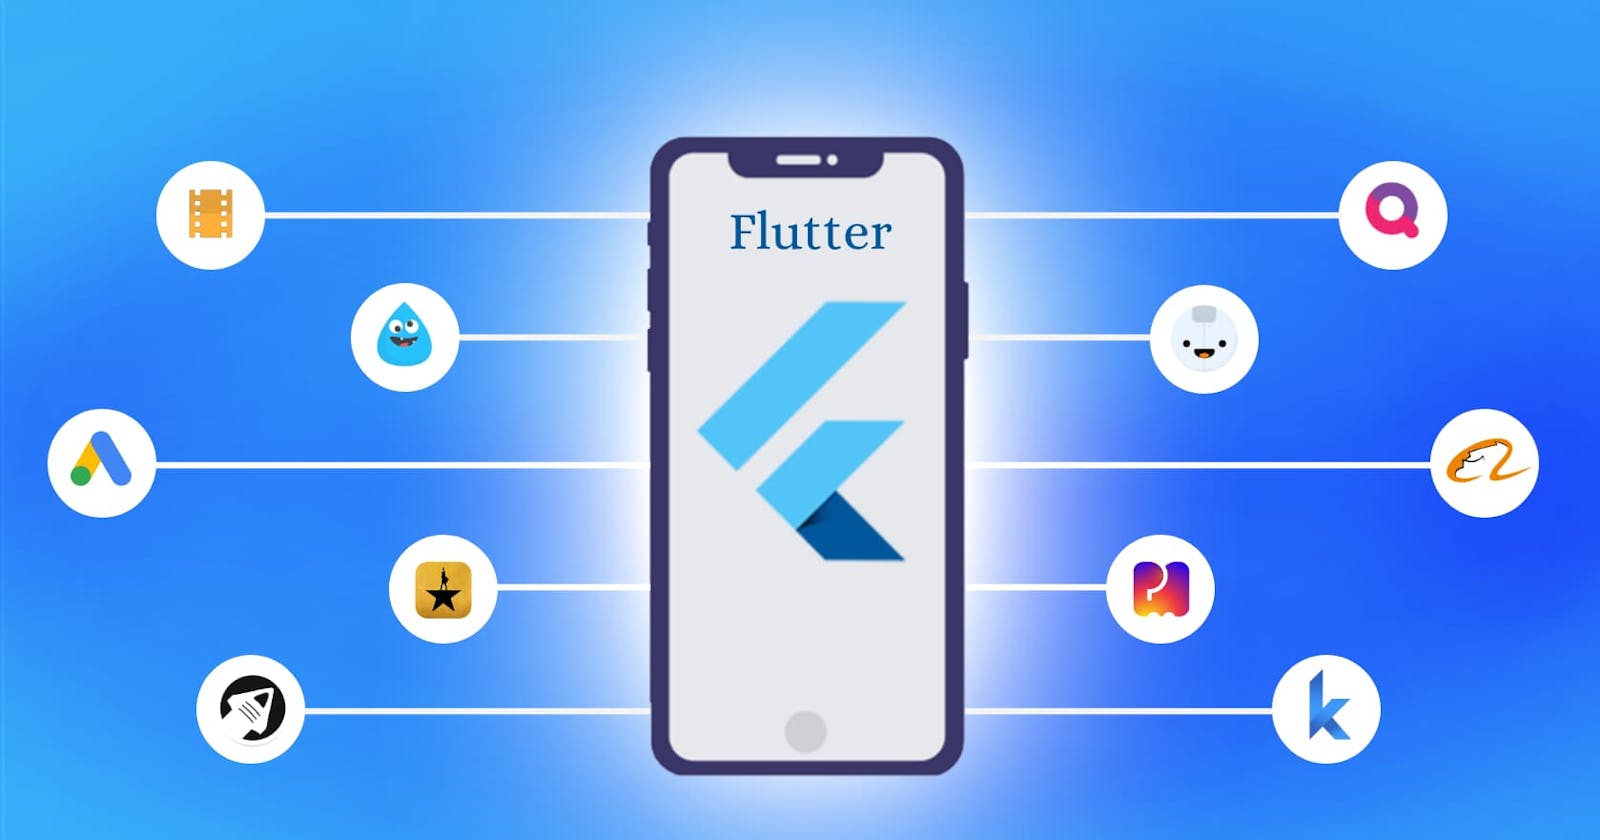


Flutter is an open-source mobile app development framework created by Google. It is an easy-to-use framework that allows developers to build cross-platform mobile applications for both Android and iOS using a single codebase. Flutter offers a rich set of pre-built widgets, tools, and libraries, which makes it a great choice for building high-performance and visually appealing mobile apps.
If you are new to Flutter, getting started may seem daunting. However, with the right resources and guidance, it is easy to get up and running with Flutter. In this comprehensive guide, we will walk you through the steps to get started with Flutter.
Step 1: Set Up the Development Environment
Before getting started with Flutter, you need to set up the development environment on your system. Flutter requires the following minimum system requirements:
Operating System: Windows 7 or later, macOS (Xcode 9.2 or later), or Linux (64-bit).
Disk Space: 2.8 GB (Windows), 2.6 GB (macOS), and 1.7 GB (Linux).
Tools: Flutter relies on the following tools being installed on your system: Git, Bash (Linux and macOS), PowerShell (Windows), and Java Development Kit (JDK) 8 or later.
To set up your development environment, follow these steps:
Download the Flutter SDK from the official website (flutter.dev/docs/get-started/install). The Flutter SDK includes everything you need to develop and run Flutter apps on your system.
Extract the downloaded zip file to a location of your choice.
Add the Flutter bin directory to your PATH environment variable. This step is necessary to run the Flutter commands from the command line. For example, on macOS or Linux, open your .bash_profile file and add the following line:
export PATH=$PATH:[PATH_TO_FLUTTER_GIT_DIRECTORY]/flutter/bin
- Run the following command to check if Flutter is properly installed:
flutter doctor
This command will check your system for any necessary dependencies and display a report with any issues that need to be resolved.
Step 2: Choose an IDE
Flutter supports a range of integrated development environments (IDEs), including Android Studio, Visual Studio Code, and IntelliJ IDEA. You can choose any of these IDEs to start developing Flutter apps. Each IDE has its own unique features, so choose the one that works best for you.
Step 3: Create Your First Flutter App
After setting up the development environment and choosing an IDE, it's time to create your first Flutter app. Follow these steps to create a new Flutter project:
Open your IDE and create a new project.
Select Flutter as the project type.
Choose a name and location for your project.
Wait for the IDE to create the project structure.
Run the project by clicking on the run button in the IDE.
Flutter uses the Dart programming language, so you will need to learn Dart to develop Flutter apps. Dart is a modern, object-oriented language that is easy to learn and understand.
Step 4: Learn the Basics of Flutter
To develop Flutter apps, you need to understand the basics of Flutter. Here are some key concepts you need to know:
Widgets: Widgets are the building blocks of Flutter apps. They are used to create the user interface of the app. Flutter provides a rich set of pre-built widgets that you can use to build your app.
State: State is the data that is stored and updated in your app. Flutter uses the setState method to update the state of the app.
Layouts: Layouts define the structure of the app's user interface. Flutter provides a range of layouts, including Row, Column, and Stack